Getting Your Assignment Repo
You'll repeat these steps at the start of every unit and every exam this semester — bookmark this page. Each time, you're forking that unit or exam's starter code into your own private space on GitLab, then cloning your fork.
Before your first time through this, make sure you've finished GitLab Access: SSH Keys & Personal Access Tokens — you'll need it to actually clone what you fork here.
Fork the Starter Code
- Log into git.gccis.rit.edu with your RIT credentials.
-
In the left sidebar, click Groups. This
opens a list of every group you're a member of, which
will vary depending on how many classes you're taking
that use GitLab. Find the group for this class, in the
format <4-digit term code>_GCIS123
(for example, 2261_GCIS123),
and click it to open the group for this course.
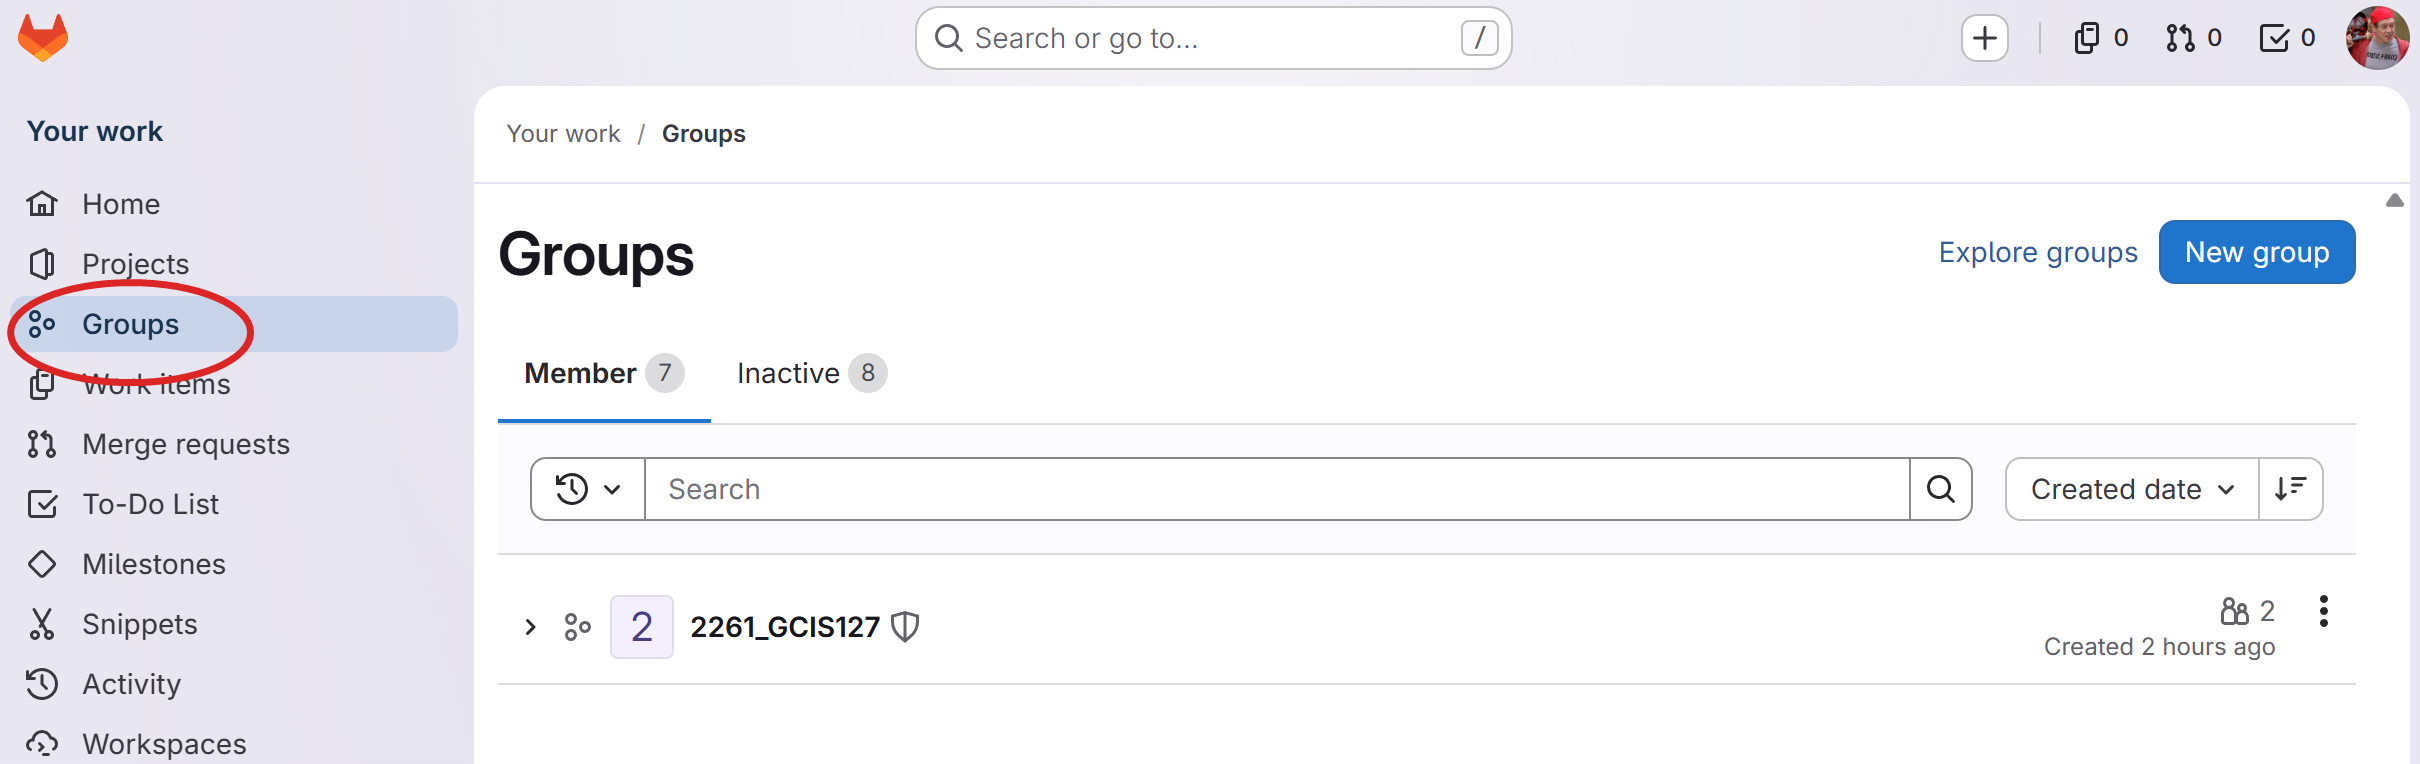
Groups → find this course's group. -
From here, you'll see several subgroups, including
starter_code. You won't be
able to access the other subgroups — if you try to
open one, you'll get a 404, and that's expected. All you
need is starter_code. Click it
now to see a list of the starter code repositories you
may fork.
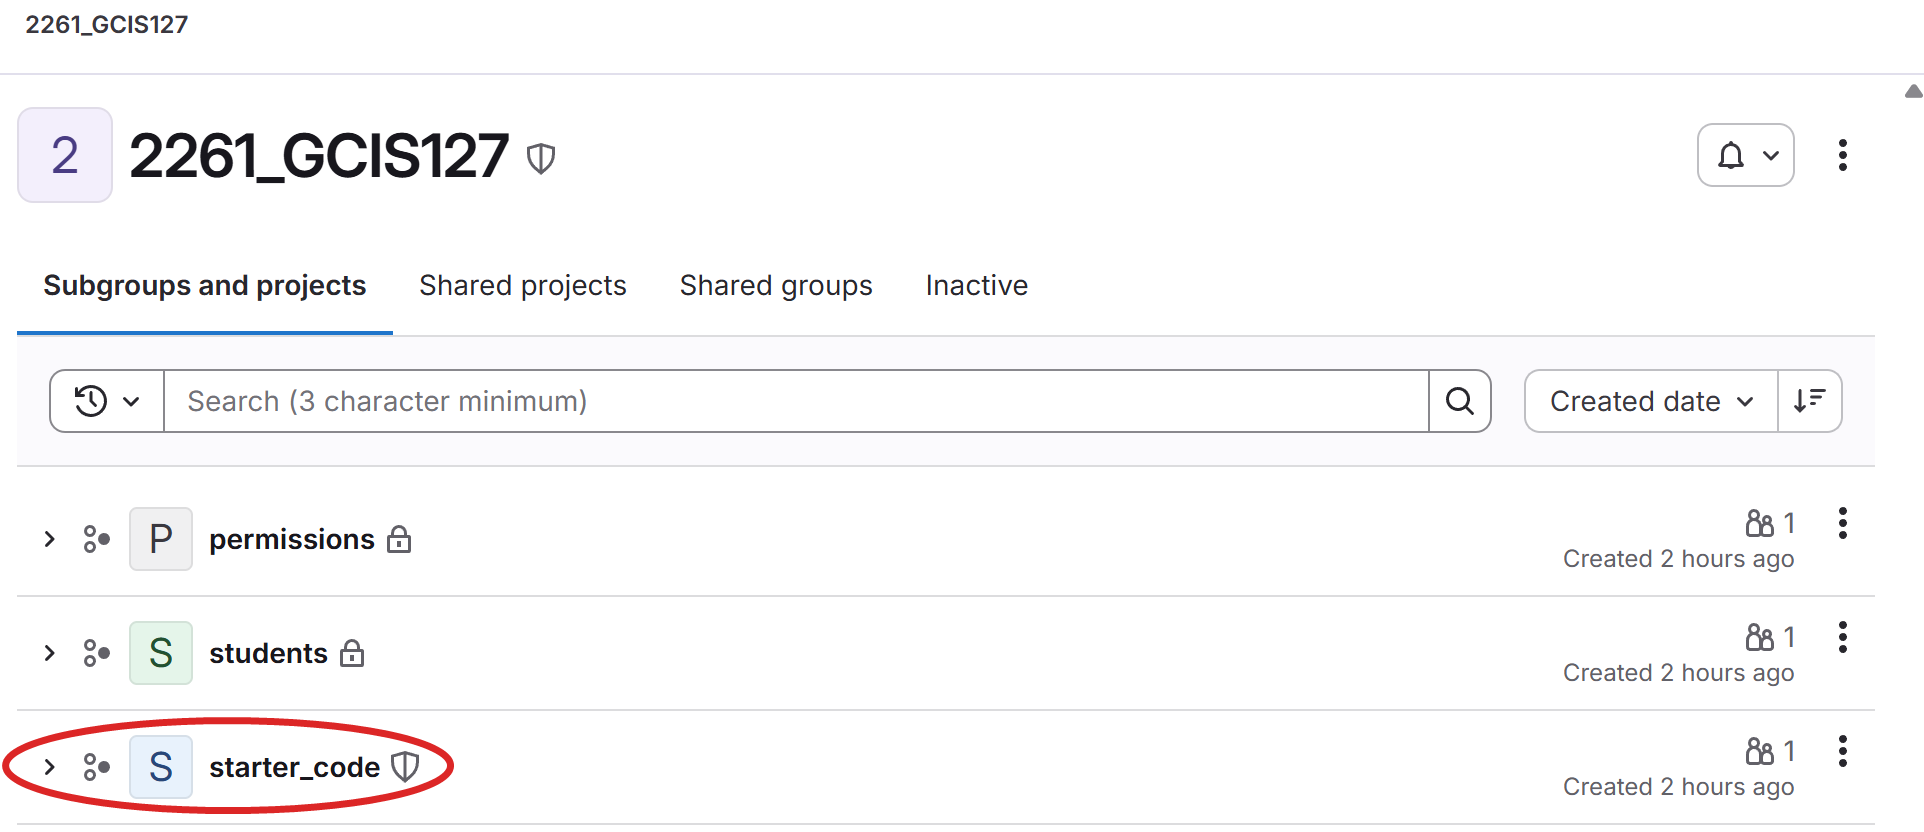
Several subgroups are listed — only starter_code is accessible to you. -
Find the repo for the current unit or exam (named
something like gcis-123-unit01)
and open it.
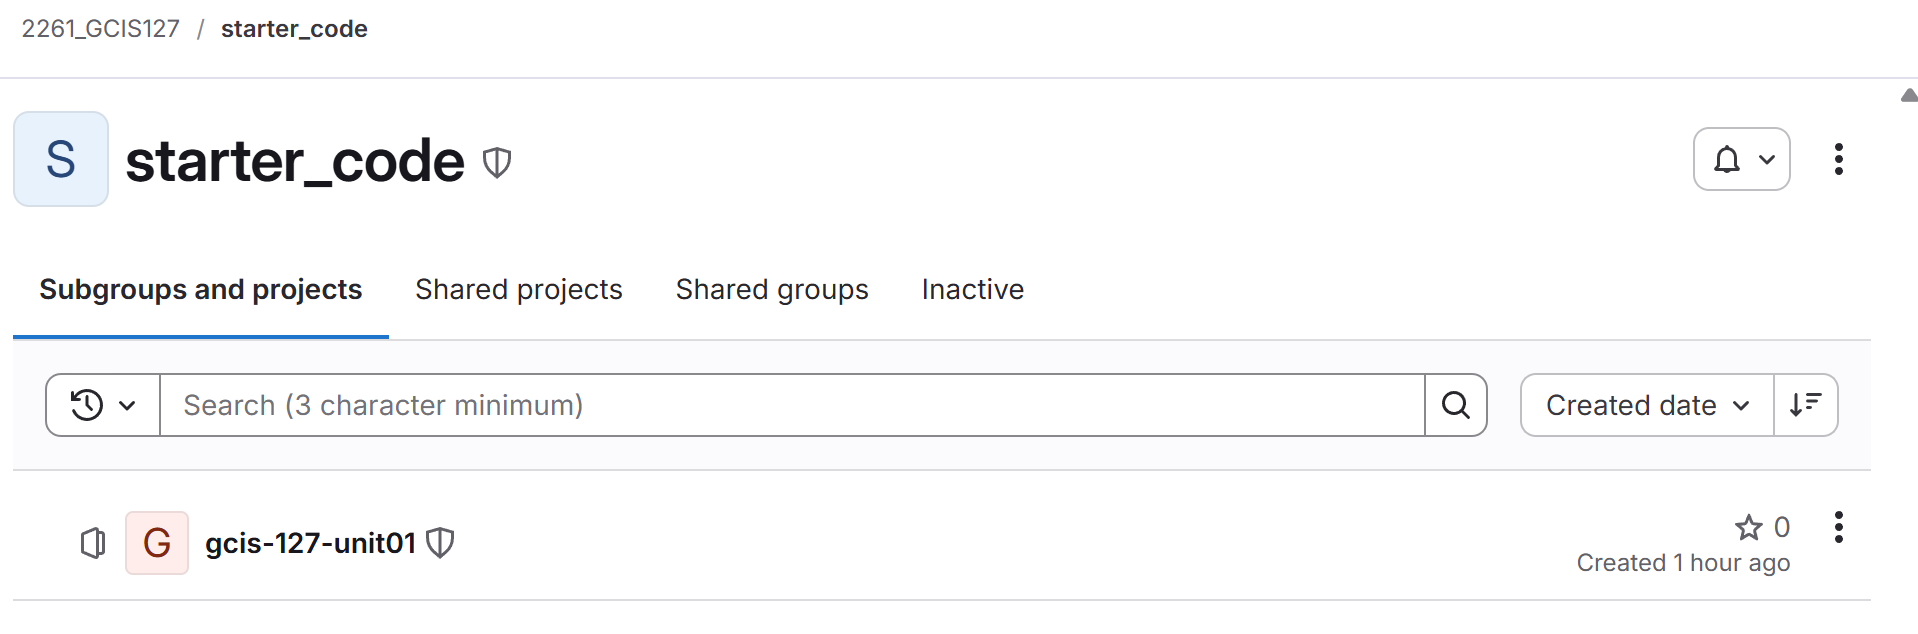
Find and open the current unit or exam's repo. -
Click Fork in the upper right.
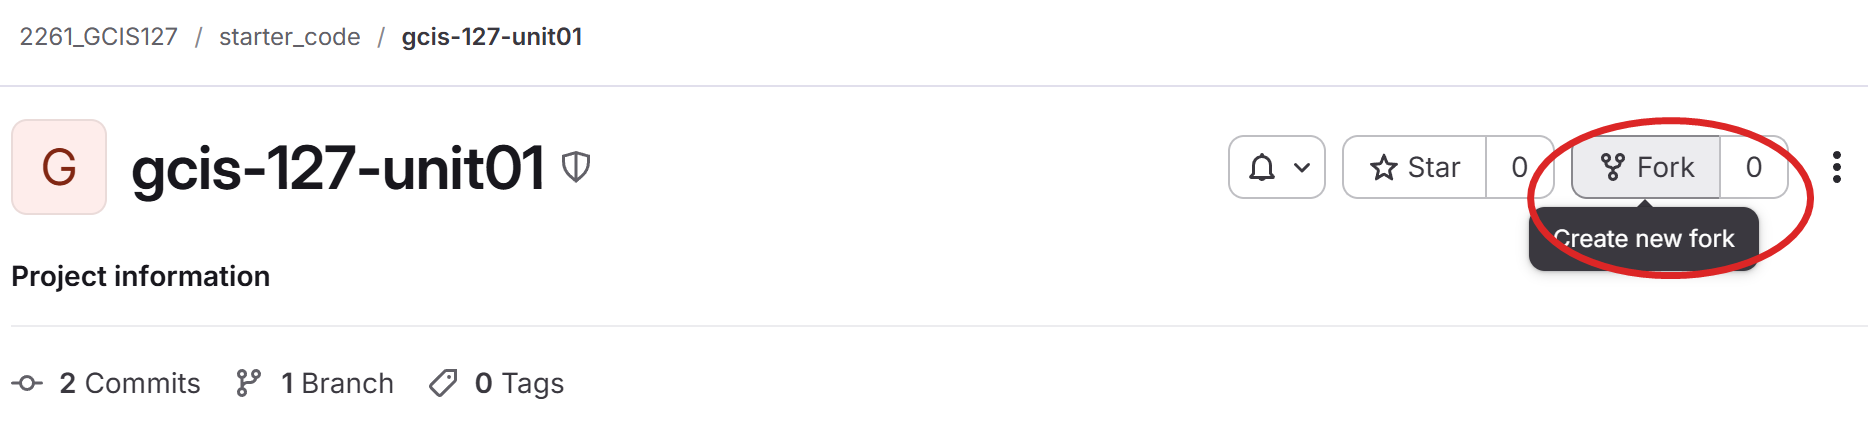
The Fork button. -
Under Select a namespace, choose the
student subgroup that was created especially for you
— it should be named
<classroom group>/students/<section number>/<name>,
e.g. 2261_GCIS123/students/01/Smith_Jack.
Do not fork into your personal
namespace — this will make it so your instructor
and TAs can't access the repository. Leave the project
name, slug, and everything else at its default, then
click Fork project. Visibility will
automatically be set to Private once you've picked your
student subgroup — that's expected, nothing to
change there.
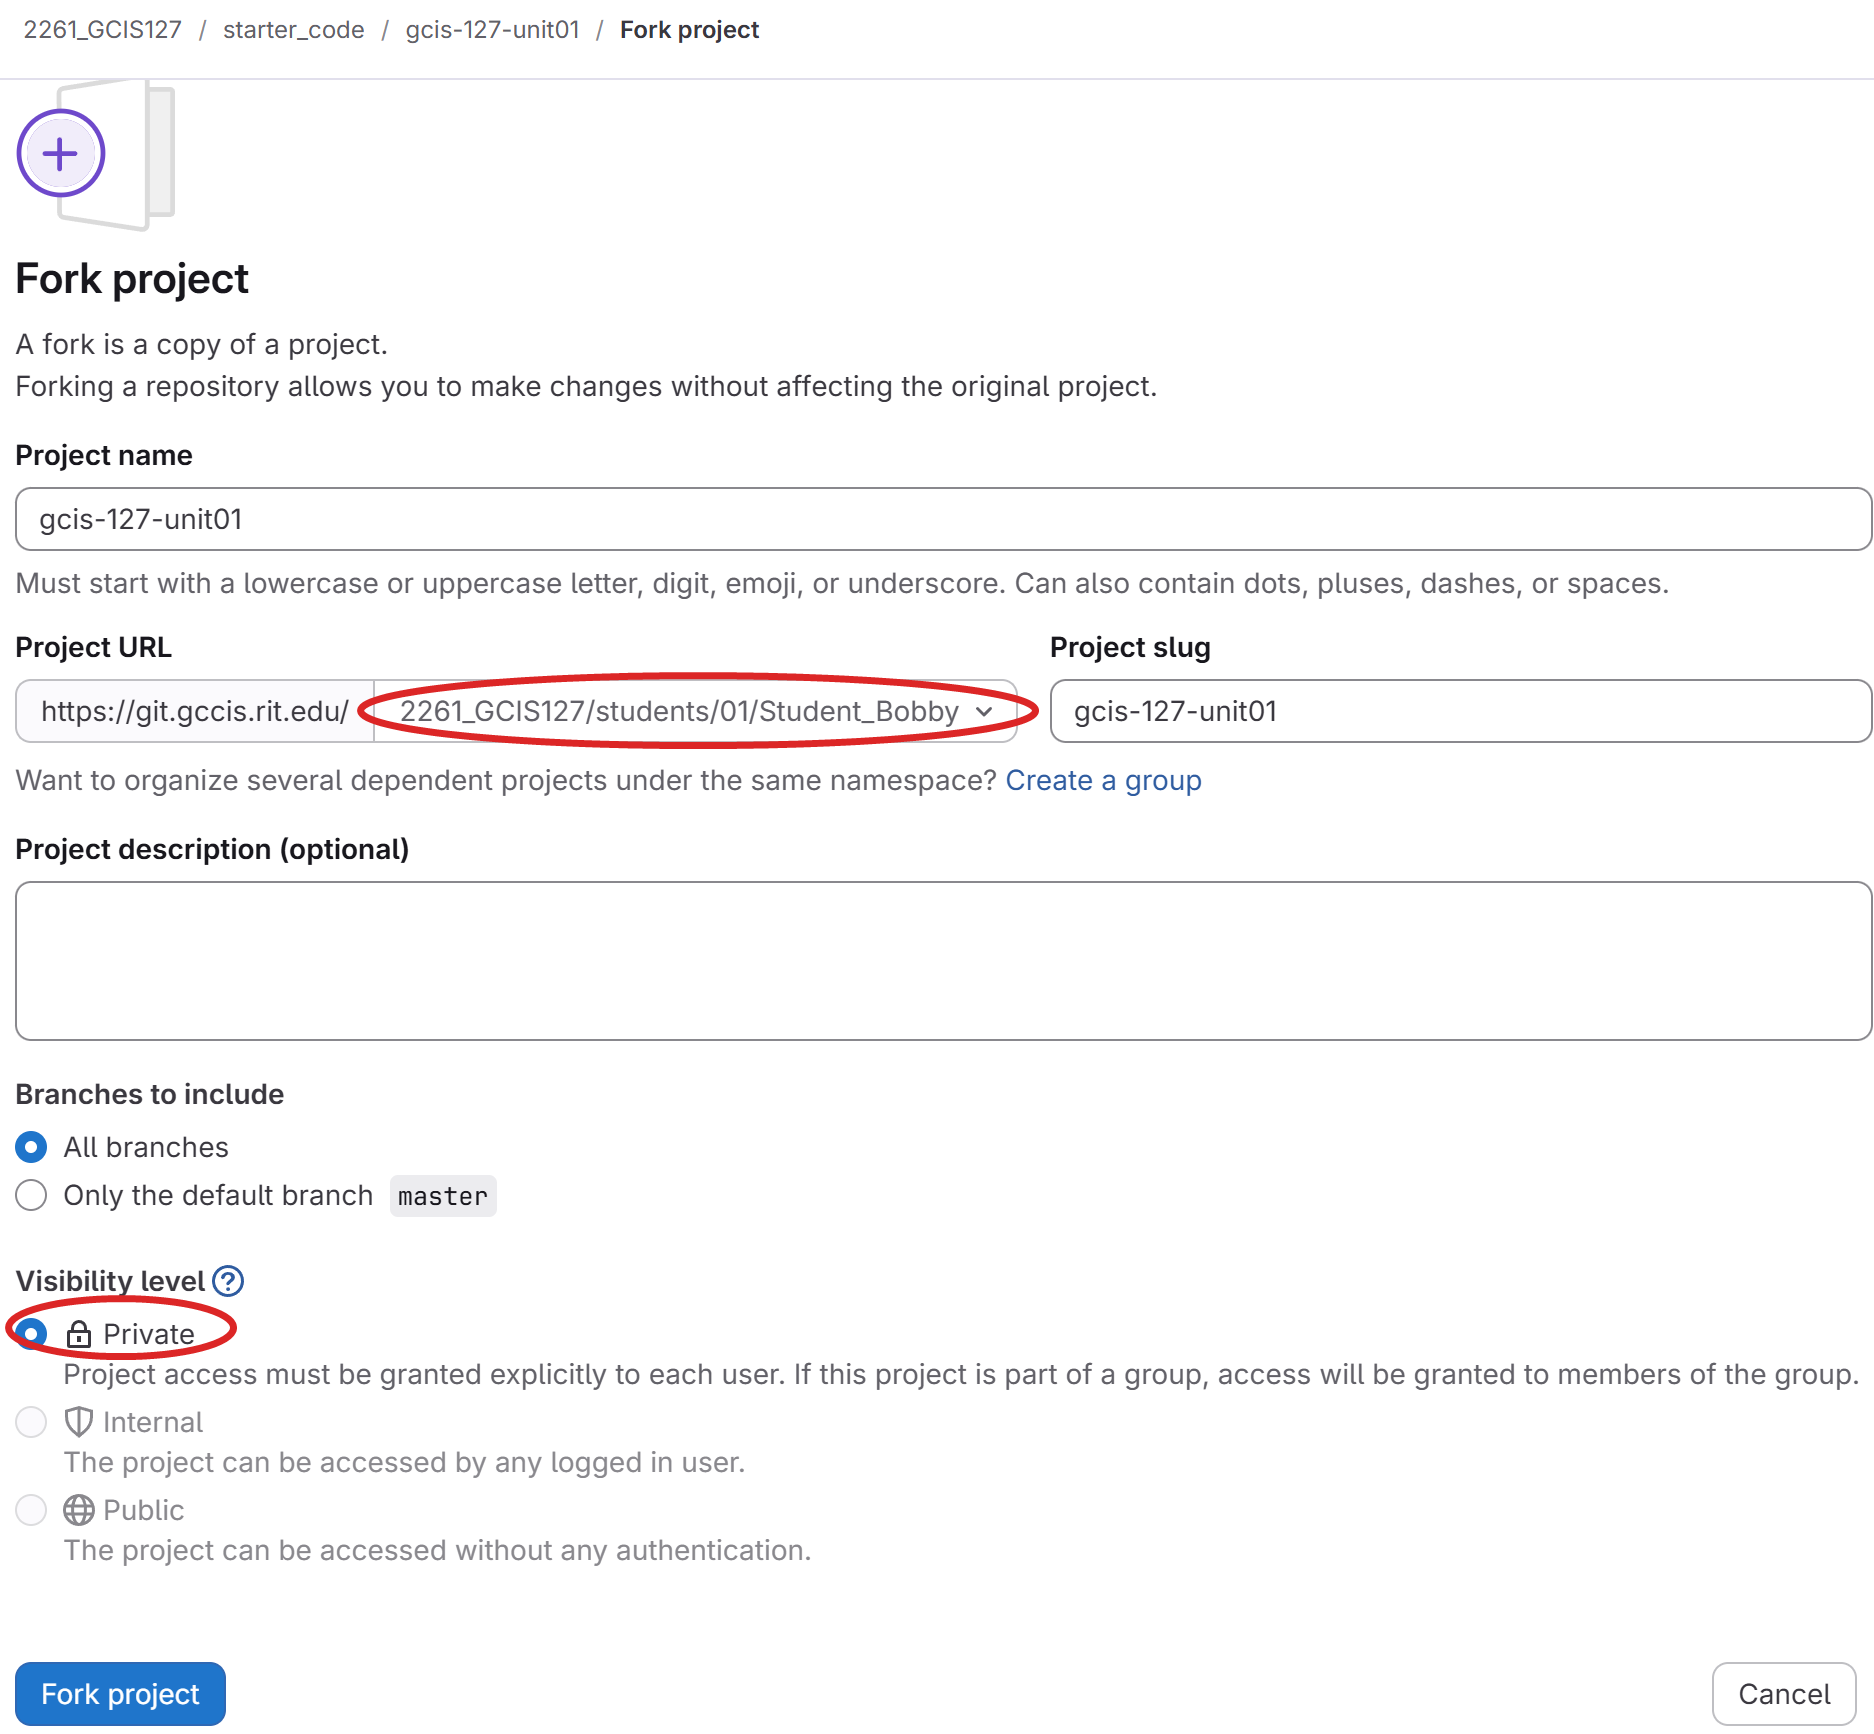
Pick your private student subgroup, not your personal namespace, then click Fork project.
What if I Fork in the Wrong Place?!
It happens — you fork into your personal namespace by mistake instead of your student subgroup. Which fix you want depends on whether you've already started working in it.
Haven't started any work yet?
Just delete the wrong fork and fork again correctly — forking only takes a few seconds, so this is the easiest option if you catch the mistake right away.
- Open the project you forked to the wrong place.
- Go to Settings → General, scroll down, and expand Advanced.
- Scroll to Delete project, click it, and type the project's path to confirm.
- Head back to starter_code and fork it again — this time into your correct student subgroup.
Already committed work you don't want to lose?
Transfer the project to your correct student subgroup instead of starting over. Everything — commits, branches, history — moves with it.
- Open the project you forked to the wrong place.
- Go to Settings → General, scroll down, and expand Advanced.
- Find Transfer project, select your correct student subgroup from the namespace dropdown, click Transfer project, and type the project's path to confirm.
If your student subgroup doesn't show up as an option in the transfer dropdown, you likely don't have sufficient permissions there — message your instructor for help transferring it.
Clone Your Fork
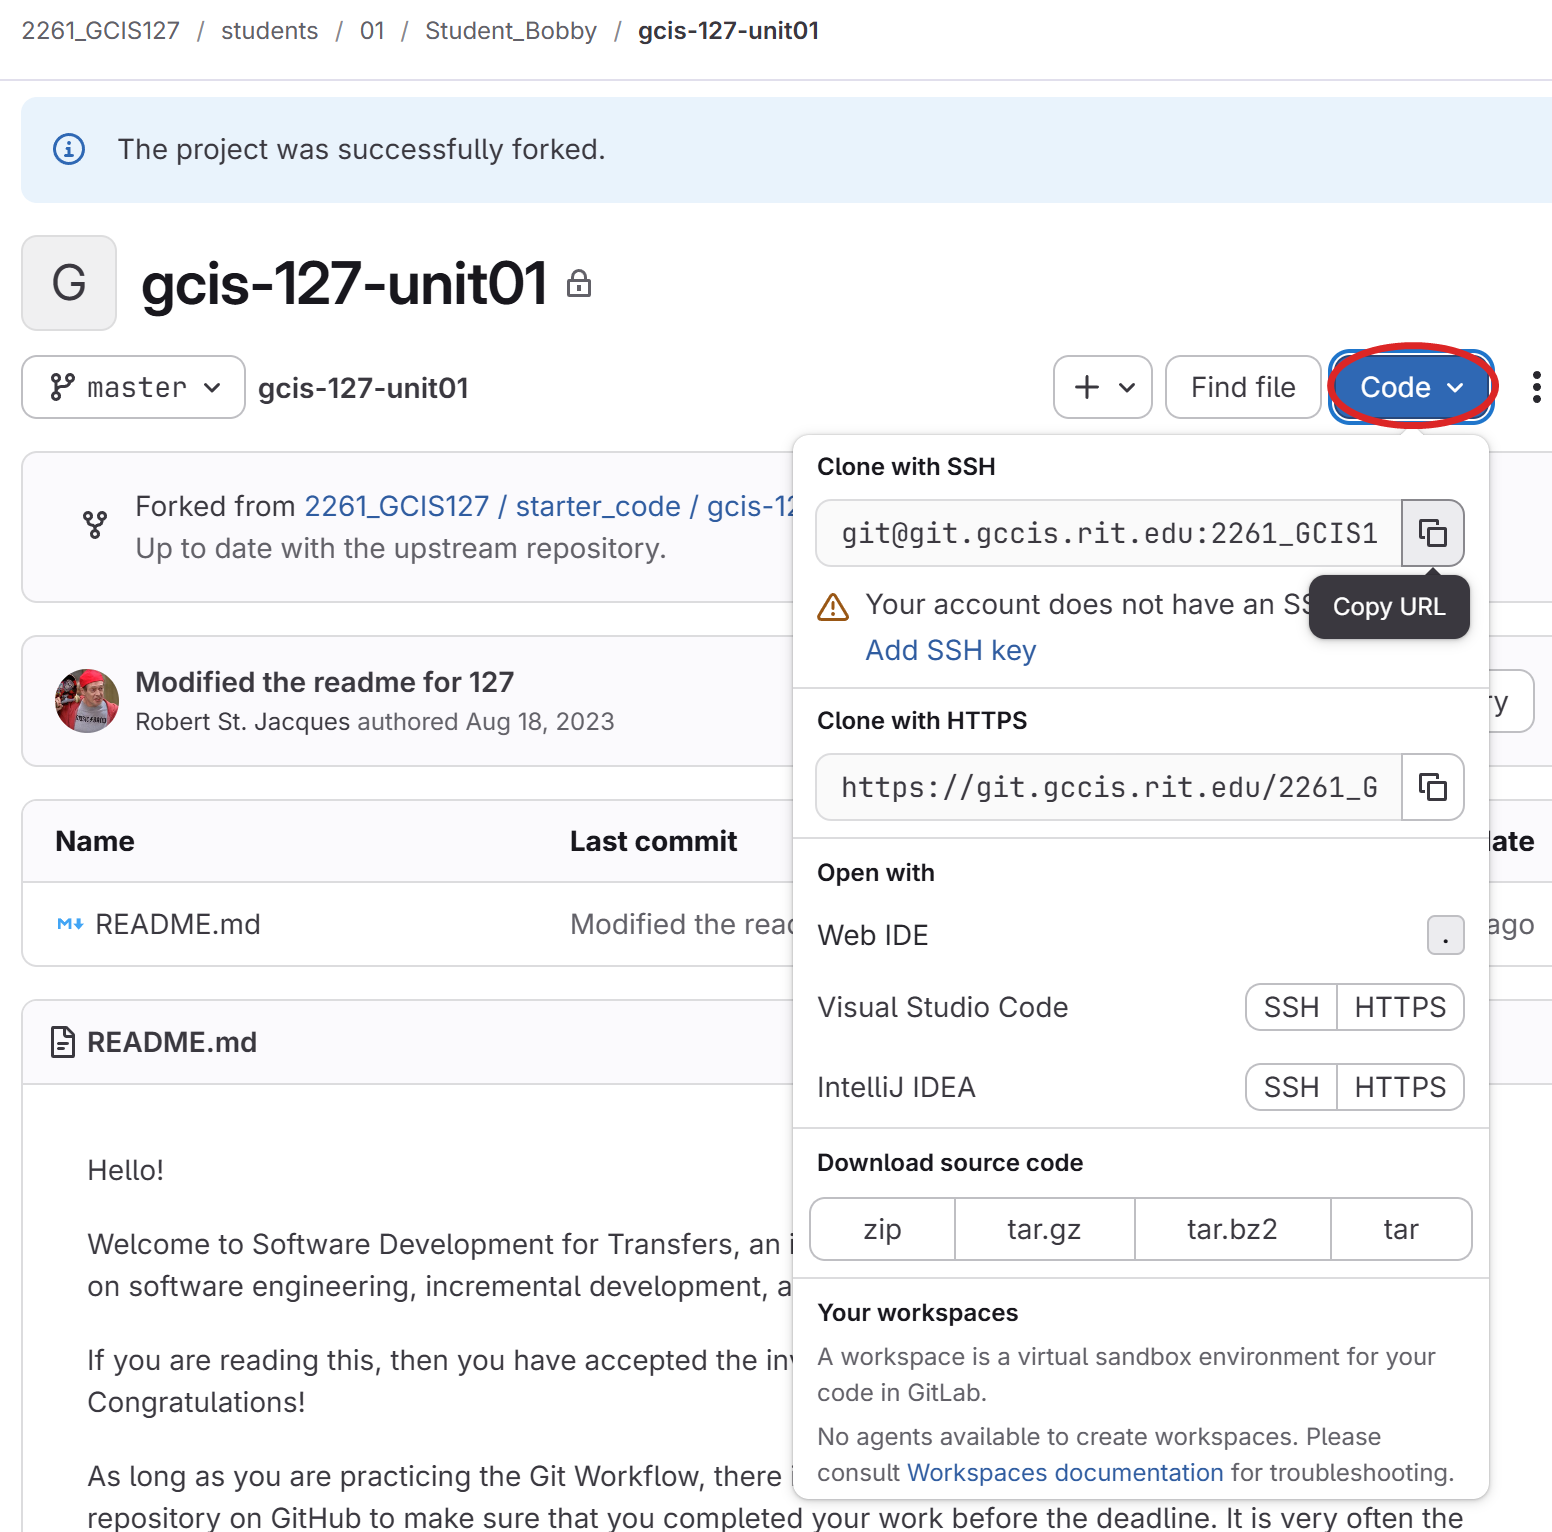
Your forked copy now lives under your student subgroup, separate from the original starter code. Clone that repo — not the one in starter_code — using SSH or a Personal Access Token as described in GitLab Access.
On your forked repo's page, click the blue Code dropdown to get the SSH or HTTPS URL to clone with, or to open the project directly in VS Code or IntelliJ. If you see a warning that your account doesn't have an SSH key yet (like in the screenshot below), that's your cue to go finish GitLab Access before continuing.